
Why You Should Create a Child Theme
WordPress works off a concept of themes. The theme is a collection of files that create the structure, and some of the functionality for how your site looks and feels. Usually, you will download a theme from a company. Sometimes we need to customize those files. The best way to do this is by creating a child theme.
Periodically, these companies will make changes to their themes to improve functionality, speed, look and security. Of course, we want that, but if we have made changes to any of those files, then when the developer makes a change, it will overwrite our customization.
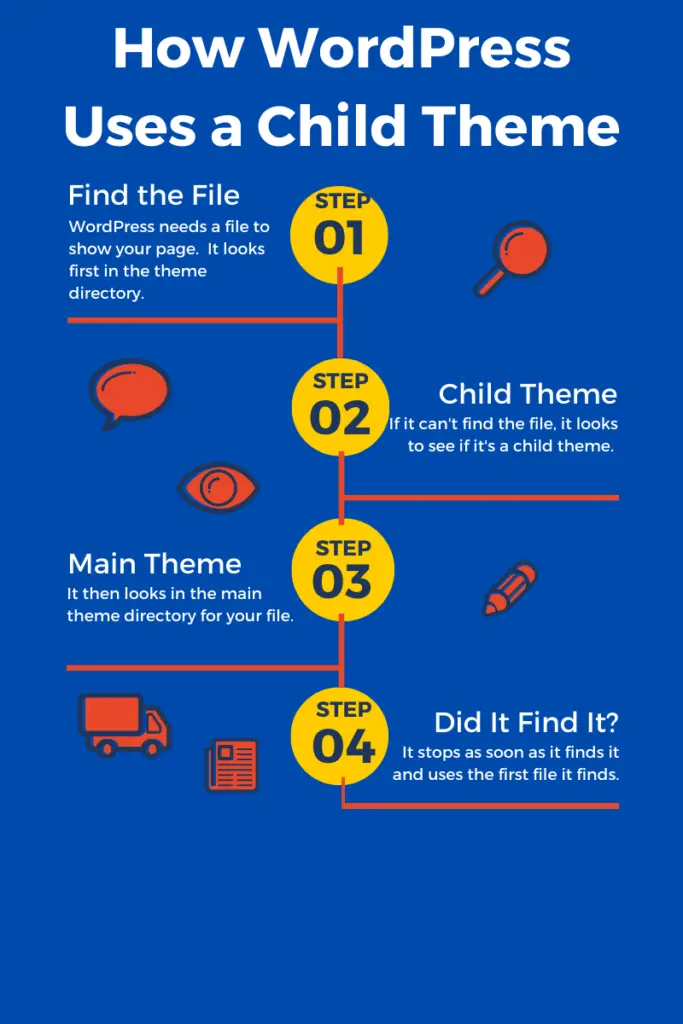
By creating a child theme, we basically make a copy of the files that we customize into another directory. WordPress uses these files to do things like build pages and posts and show designs. It looks for the file it needs first in the active theme directory. If we have a child theme, that’s where it starts. Child themes have special instructions telling WordPress to look in the main theme directory if it can’t find what it needs there.
Using a child theme protects our customizations. Creating one is usually a manual process. A few themes, like Astra have an easy way to create a child theme. Normally, though, you have to do the work yourself. We are going to show you two ways of creating a child theme. The first uses a plugin, which makes it easier but adds a plugin. More plugins can slow your site down and gives one more thing to break. It’s easier though. The other good news about this plugin is that when it’s done, you can uninstall it and still have a child theme!
The other way that we will show you is how to do it manually. You’ll need to know how to access the files that make up your WordPress website. It’s not complicated but can be intimidating for some webmasters. Usually, you’ll do this through your webhost.
Creating a Child Theme Using a Plugin
The first step is to install the plugin. If you know how to do this, just go ahead and install
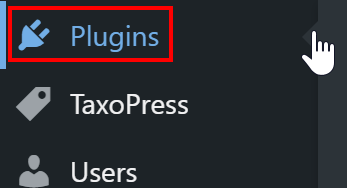
- Go to Plugins on your Admin Dashboard
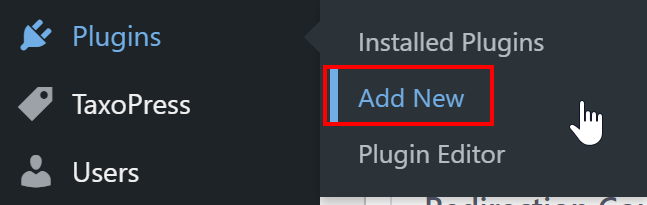
- Select Add New
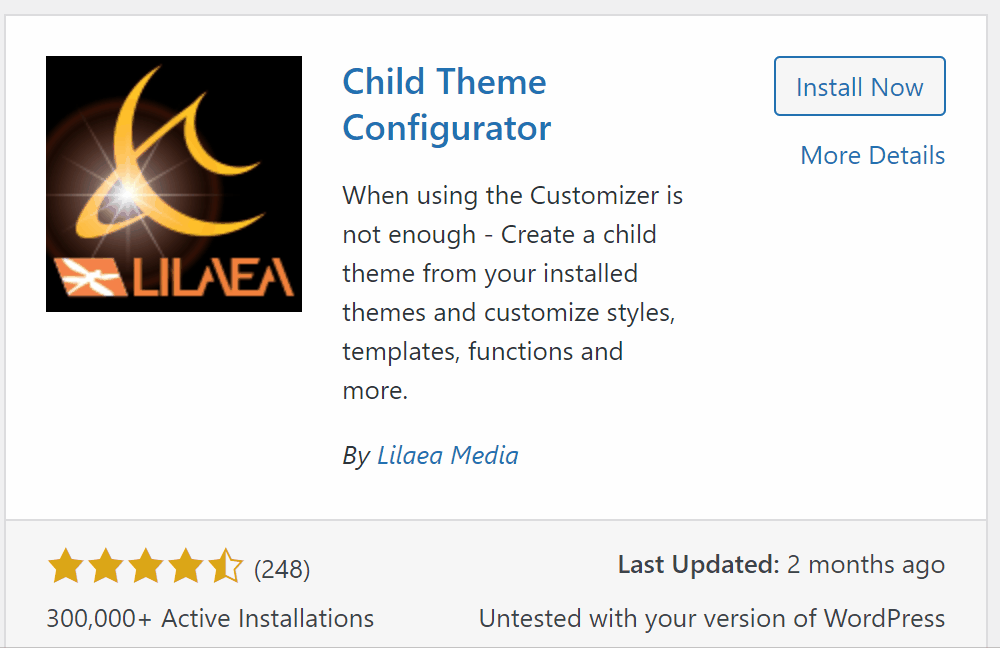
- This opens the WordPress search engine for plugins. Search for Child Theme.

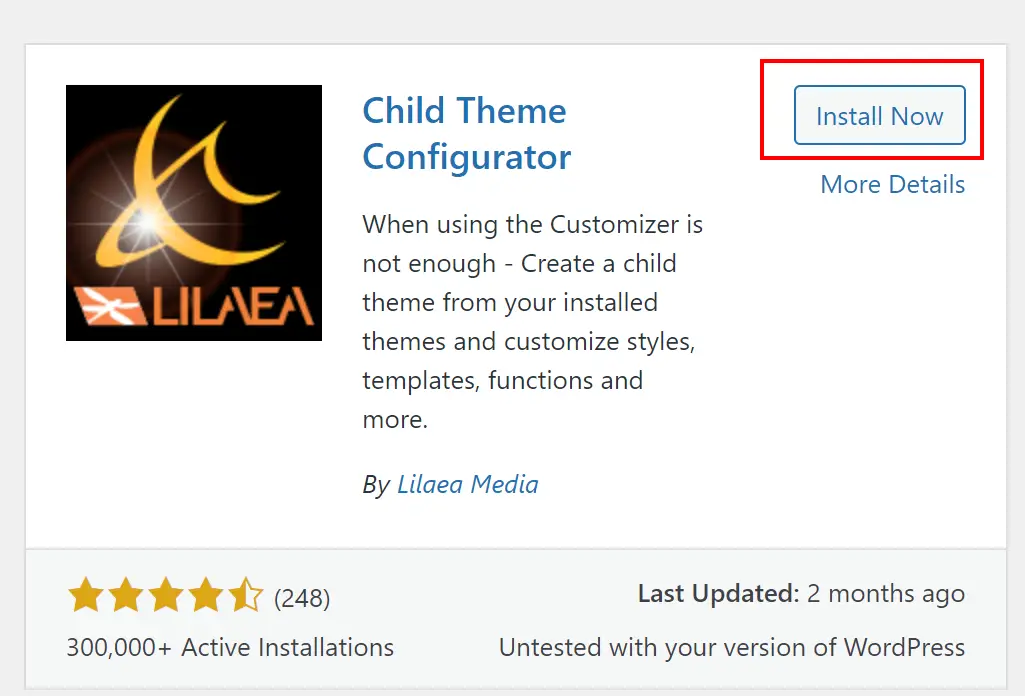
- In the search results, you should see Child Theme Configurator. Click Install Now.
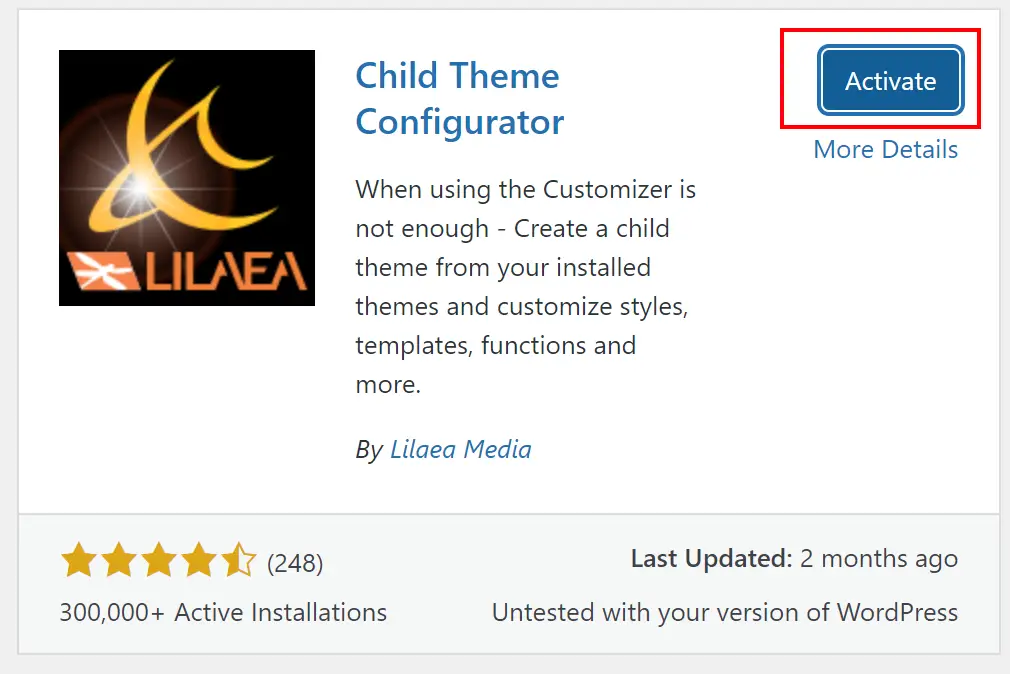
- It will download and install the plugin. This will take a few seconds.
- Once it says installed, click the Activate button.
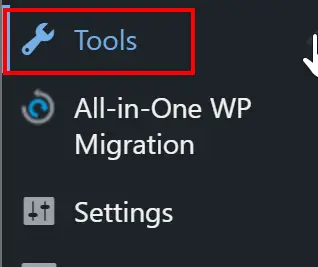
- Once that is complete, it will take you back to the plugin page. Now we have to find out where the controls are. On the admin dashboard on the left find the Tools menu and press it.
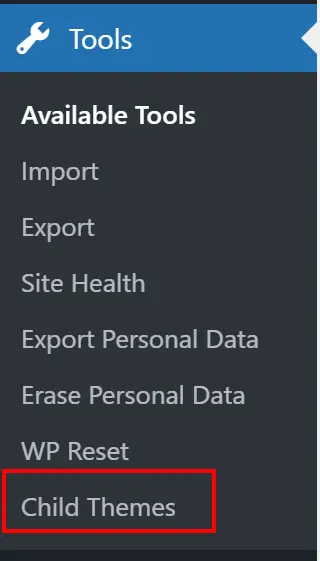
- This opens up another list and you should see Child Themes, probably at the bottom. Select that.
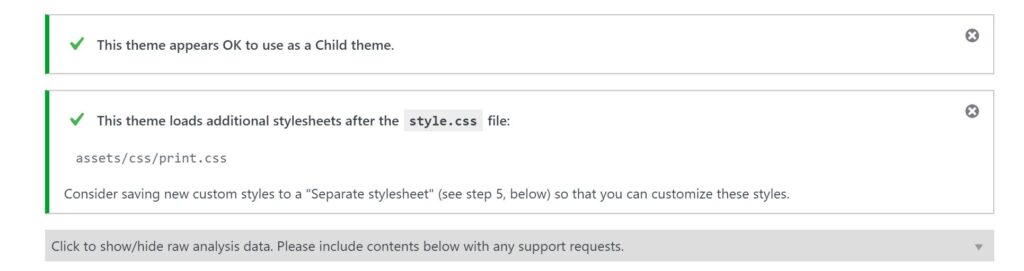
- You’ll now see the options page for the Child Theme Configurator. It has two options, to create a child theme or to analyze and look for common problems. Unfortunately, a handful of themes out there make child themes more difficult for various reasons. This looks for common problems. Most themes should work.
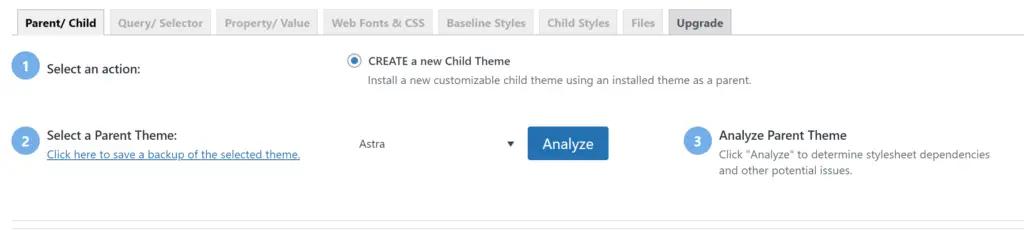
- Press Analyze. Unless there is a problem, this should give you a few more options. If there is a problem, carefully read the instructions. Each theme is different and there are a lot of combinations to cover here. Some themes give you good instructions on their site for creating a child theme for their theme. Make sure to pick your theme from the dropdown. It will list all the themes installed on your site.
- Select the directory to install your child theme. Normally, this will be the name of your parent theme followed by “-child”, so astra-child or something. (Basically stick with what it suggests.

- Keep the rest of the settings the way that they are and press Create New Child Theme.

- You can unintall the Child Theme Configurator plugin now without creating any problems for your child theme. It will work just fine from here.
Activating Your Child Theme
This will bring you back to the main child theme plugin page with a few more options. You can ignore those for now. Now we want to go check out child theme and activate the new child theme.
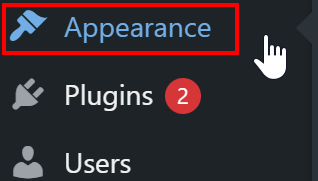
- In the admin dashboard, select Appearance on the left.
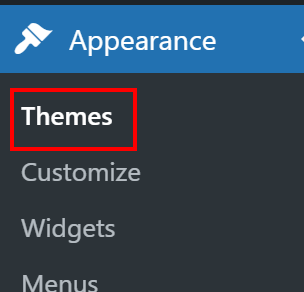
- Select Themes under the Appearance menu.
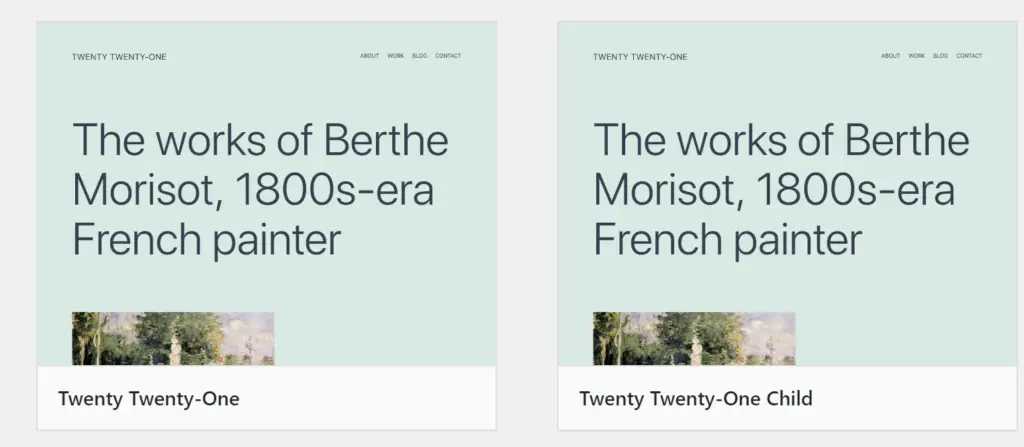
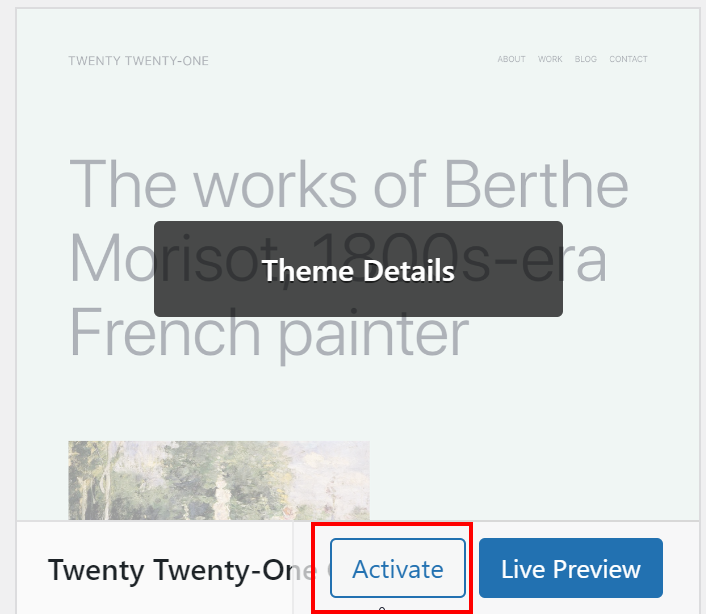
- This will open a window with your themes in it. You should now see your child theme next to the main theme. Hover your mouse over the child theme and activate it. If you go back and look at your site it actually should look the same because we haven’t done anything to customize your child theme yet. If the child theme is activated and it looks like nothing happened, that’s actually a good thing! You have now succeeded in creating a child theme! Congratulations.
Creating a Child Theme Without a Plugin
When creating a child theme for WordPress manually, you’ll need access directly to the files that make up your site. This varies some by host. We’ll show you two ways to access the files. From there, it’s basically the same. You can also use an FTP client like Filezilla to access the files but that’s a bit more technical.
Many hosts use C-Panel to allow you control of your hosting. C-Panel has something called File Manager where you can look at files. It works a lot like any directory browser. We’ll show you two ways to get to File Manager. One for Siteground and the other for a traditional C-Panel installation like on A2 Hosting.
Getting to File Manager in Siteground
- Once you are logged in, select websites on the top bar.

- Select Site Tools next to your website.

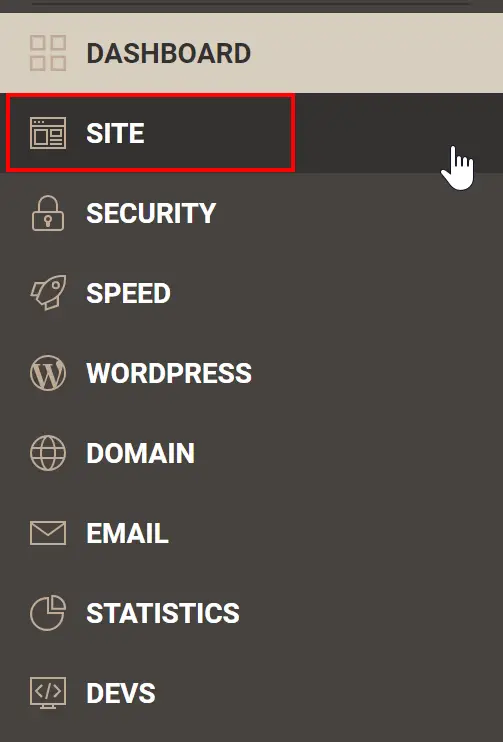
- This opens up controls to make changes to your website and hosting for that site. On the left, select Site.
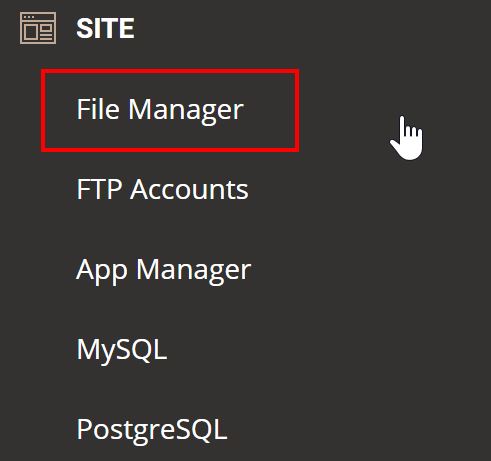
- That opens another menu. Select File Manager. Once that is open, it’s very similar to any File Manager so you can jump down to the File Manager Instructions.
Accessing File Manager in C-Panel
This is really pretty easy. Once you’re logged into your C-Panel, you should see an options for File Manager. Click on that to open it.
Using File Manager for Creating a Child Menu
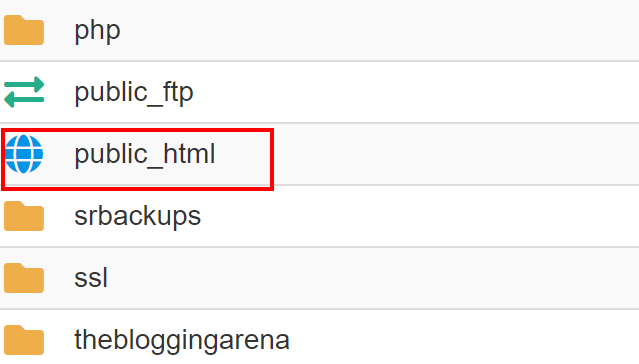
You will now need to find the files for your site. They are usually in a directory labeled something like public_html or public-html.
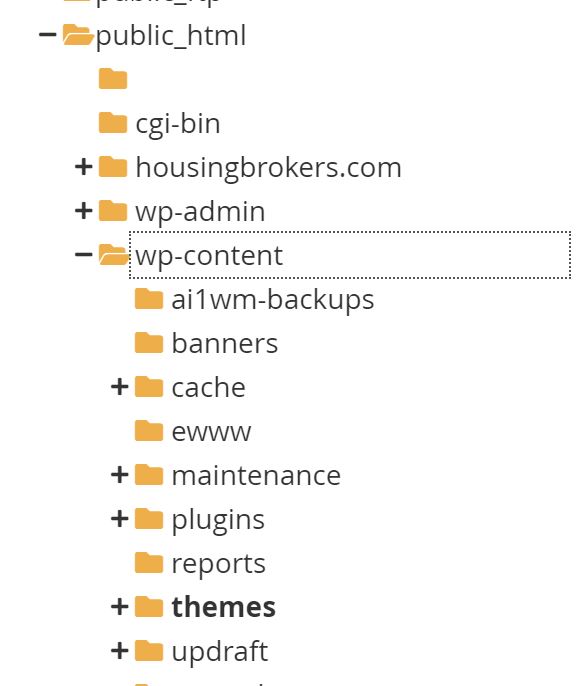
- Open that directory. Navigate to the following directories wp-content and then themes. You should see directories for all of your themes.
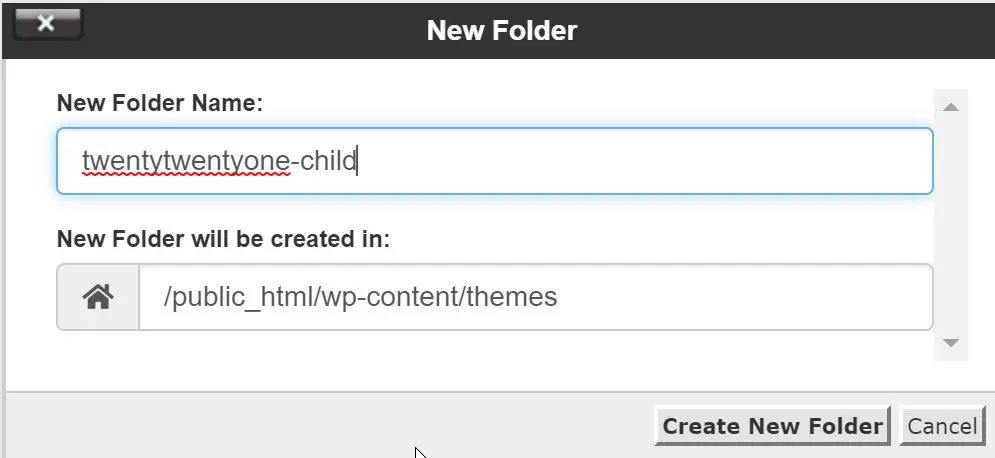
- Create a new directory using right click or the New Folder button at the top. Name it something like “your-parent-theme-child” to make clear what it is.
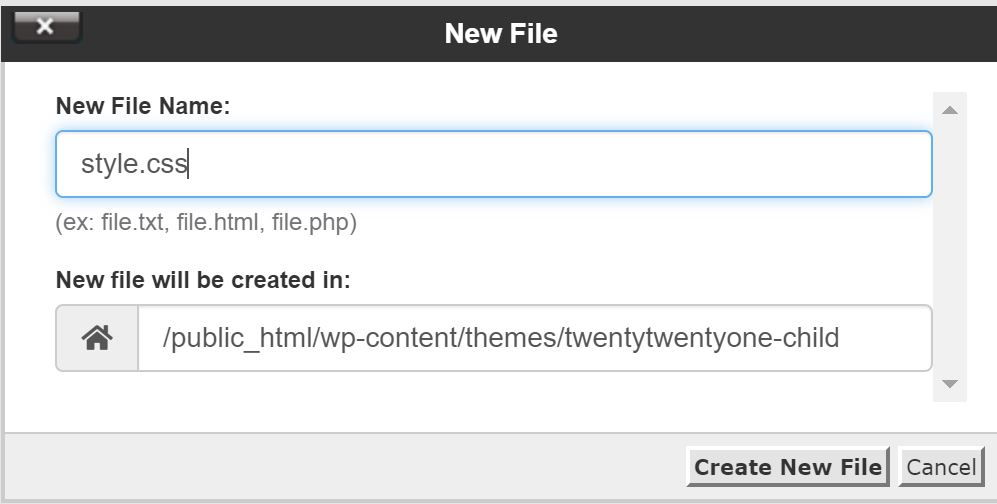
- Double click that directory to enter is and now we are going to create a couple of files. Press the New File button at the top and create a file names “style.css”
- Right click on that file and select edit. This will open a window to edit the file. Copy this code and paste it into the file.
/*--------------------

Theme Name: TwentyTwentyOne Child

Theme URI: https://your-domain.com/twentytwentyone/

Description: Twenty Twenty One Child Theme

Author: WordPress Pro Tips

Author URI: https://www.wpearnonline.com

Template: twentytwentyone

Version: 1.0

--------------------*/


/*-------------------- custom css below --------------------*/
- Modify the following lines for your case
- You can change the Theme Name to be whatever you want but it should be the name of the parent theme followed by “child” to make it clear what it is.
- You can change the Theme URI to be your URL. This isn’t critical.
- The Description should be something that will be clear to you.
- The Author and Author URI can be whatever you want. You can just use your name and URL if you want.
- The Template is really important. This is what tells WordPress what to use for a parent theme. This needs to be the directory of the parent theme.
- Version can just be left at 1.0
- Save and close that file. Almost there!
- Create another file called functions.php and paste this code into it. This copies styling from the parent theme. Then you can save that file.
add_action( 'wp_enqueue_scripts', 'enqueue_parent_styles' );


function enqueue_parent_styles() {

   wp_enqueue_style( 'parent-style', get_template_directory_uri().'/style.css' );

}
- Activate the theme like we talked about above.
You’re Done Creating a Child Theme in WordPress
The plugin route is a lot easier and faster. If you’re looking to understand how WordPress works and the files, then you might want to try creating a child theme in WordPress manually but otherwise, the plugin route is easier.